Showing posts with label Photoshop Elements. Show all posts

Saturday, July 18, 2009

Applying Drop Shadows to Many Layers

So you have a layout with a lot of layers that need the same drop shadow applied as in my layout below. Do you really want to adjust each one by one? No! There is a faster way.
Camp Food Layout

Today I am going to show you a quick way to apply a drop shadow layer style to as many layers as you would like.
First, apply a drop shadow to one layer as you normally would do.
1. Select the layer that you want to apply the drop shadow (DS) to.
2. Under the effects panel, choose the layer style button, and select Drop Shadows.
3. Select the drop shadow of your choosing and click "Apply."
Apply Drop Shadow

To adjust the default drop shadow (DS), select the effects (fx) symbol on the right side of the layer in the layer panel.
alternative text

Now change the default settings by adjusting the Size, Distance, and Opacity.
You can play around with this to your liking. I personally like to have small, dark drop shadows. When they are fuzzy they appear to me that the items on the page are floating in the air, so that is why I choose a low number for distance.
Adjust settings

Click "Ok" when you are finished adjusting the drop shadow.

Next we will apply this setting (drop shadow layer style) to as many other layers as you would like. First we must copy the layer style and then paste it onto the other layers.

So, check to make sure that the layer is still selected in the Layers panel on the right.
verify layer is selected

Then go up to "Layer" in the menu along the top of the screen, select "Layer Style" and then "Copy Layer Style."
layer--layer styles--copy layer styles

Then in the Layers panel, select all of the layers that you would like to apply the same drop shadow to. In my example, it is the other eleven squares in the grid.
select layers to apply DS to

Now, go back up to the "Layer" in the top menu, select "Layer Style," and this time choose "Paste Layer Style."
alternative text

And you are done---the shadow is applied to all of the layers you selected.
Shadow has been applied
CREDITS for layout: Page Kit "My Favorite Thing" by Jady Day Studio from SYTYCD contest.

Thursday, July 9, 2009

Creating Realistic-Looking Splatter in Photoshop Elements

Today I want to show you how to create realistic-looking splatter in PSE. I did this for a recent layout and when I printed it out it looked awesome. Here's a close-up of the section of my layout.

alternative text
Credits: Kit is Wild Child by Snowflake Beach Designs
I am working in PSE 7.

First, create a new layout or go to the layout you are working on where you have added splatter. Put the splatter partially going over the edge of a piece of paper or a photo. For now, keep the photo nice and square, don't tilt it any direction---just straight.


alternative text

Use the Zoom Tool to zoom in on the splatter. A quick way to get the Zoom Tool is to type the letter "Z."
alternative text

Next add the grid over your photo. It will help in this process.
To do this select View from the top menu, and then Grid from the drop-down menu.
view grid

Next, select the Move Tool in the left column. A quick way to access the Move Tool is by typing the letter "V." Then while holding down the Ctrl key select both the photo layer and the splatter layer by clicking on each layer in the layer panel on the right side of the screen.
:Select

Now, slide your picture and splatter over so that the photo's edge lines up with one of the grid lines. The purpose of this is to give you a guide to follow.
Line Up with the Grid

Now go to the left side to the tools menu and select your Brush Tool (or select it by typing the letter "B"). From the style drop down along the top choose a soft round brush. Set it to size 5 or smaller. Choose "Shadows," and set the exposure to about 50%.
Select Brush

Next you want to make sure you are only working on the "splatter" layer, so select it in the layer panel on the right side of the screen.
Select Splatter Layer

Using the brush, trace along the edge of the photo following the grid line running the brush across the splatter.
Trace along edge of photo

Next, still using the brush tool, change the setting to range "Highlights." Then trace along the line again. You have to do this if the splatter is glitter since there are also bright speckles in the splatter.
Change brush to highlight, trace again

Now you are almost finished. You are finished with the brush tool and can zoom back out. A quick way to zoom out is to hold down the Ctrl key and press 0.
zoom out

Grab the Move Tool (letter "V") again. Then select the two layers (photo and splatter) in the layers panel.
Select both layers

Now move the cursor over to the bounding box that outlines both the photo and splatter and move it around near the corner until a rounded double-headed arrow appears. Use this to rotate the photo and splatter the way you would like it to sit on the page.
Rotate photo and splatter

You are finished!
Credits: Splatter by Sarah Bennett from "Feels Like Home" and photo by Elise Cole

erin

Tuesday, June 2, 2009

Creating a Stroke in Photoshop Elements

alternative text

Again, my focus is to help new digi-scrappers, focusing on those also new to Photoshop Elements (and in particular, version 7.0, which is probably what you'll be using if you just bought it).

Scrapper's Guide seems to be filled with really good tips and tricks. So, once again I bring you a tutorial from them. It's on how to create a stroke. They provide directions for Photoshop Elements and Adobe Photoshop. Please visit these links to do the above.

Also note that if you want to put a stroke around a picture, this is the tool that you use.

Here's a quick tutorial to put a stroke (or border) around a picture:

1) You have your photo open in Photoshop Elements and are ready to insert a stroke around the photograph.

alternative text

2) First, select the photo layer.

alternative text

3) Next, go to Edit in the top menu

alternative text

4) Then, select Stroke (Outline) Selection

alternative text

5) In the stroke window, make your selections. In the tutorial mentioned above (the Scrapper's Guide), they chose an "inside" stroke which creates crisp corners. Here I choose an outside stroke, which creates rounded corners. You will have to use trial and error to determine what width of stroke to use. Select "OK" when you are finished.

alternative text

6) The stroke is now wrapped around your picture.

alternative text

7) And you are all finished (I added a drop shadow).

alternative text


Tuesday, May 26, 2009

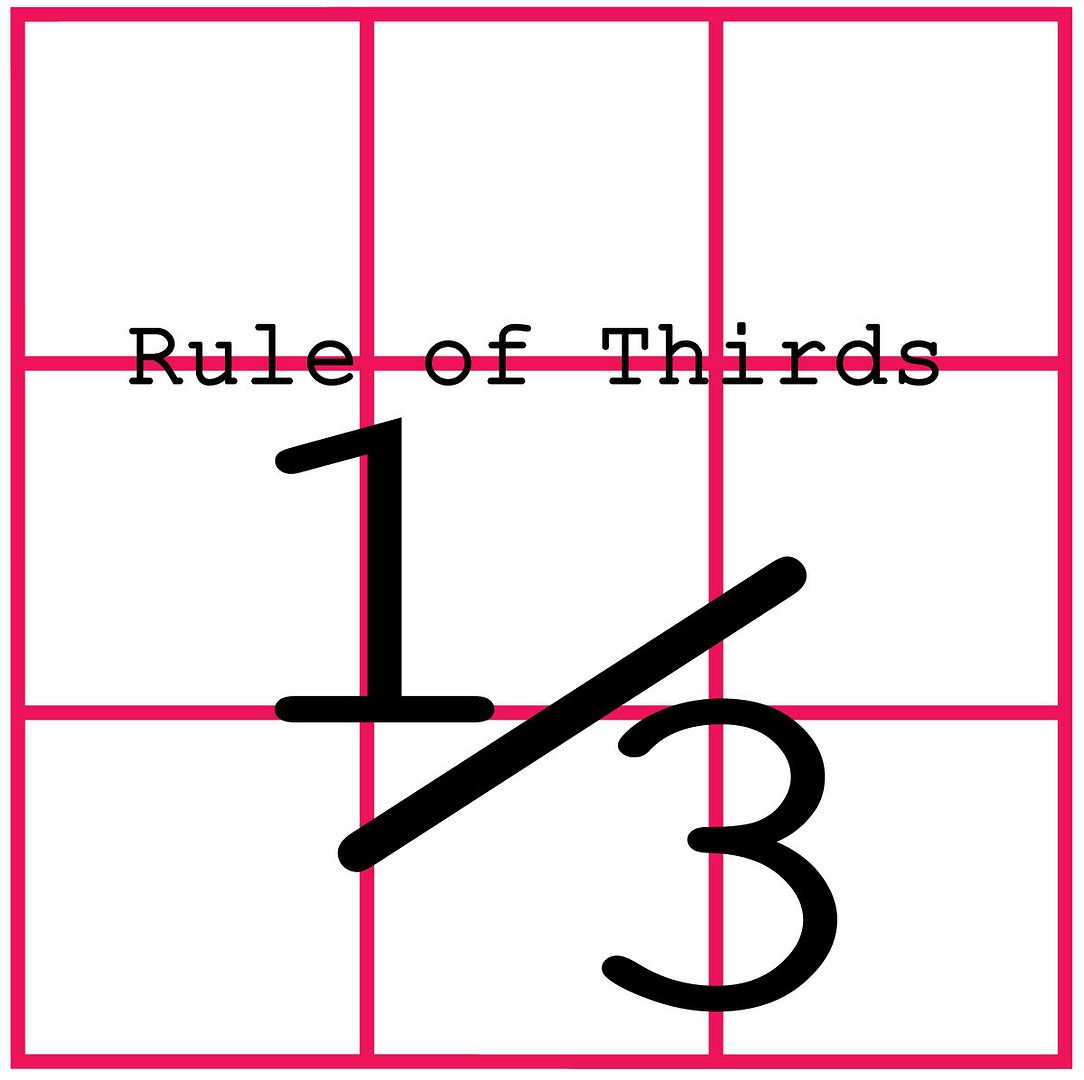
Rule Of Thirds

Cropping photos using the "Rule of Thirds" makes photographs seem more appealing, interesting, and exciting. It is a technique that can be used not only when taking photographs, but also back home when prepping photos for use in scrapbooking layouts.

There is a great tip on Scrappers Guide that describes how to simply apply a grid already available in Adobe Photoshop or Photoshop Elements to help you line up the objects in your photo to create an interesting dynamic by using the "Rule of thirds".

There are separate tutorials. One for Adobe Photoshop, available here: http://www.scrappersguide.com/tips_ps/thirds-ps/
and one for Photoshop Elements, available here: http://www.scrappersguide.com/tips_el/thirds/


****In other news, my wonderful husband bought me a 1TB external harddrive. How awesome is that?!!!****

Sunday, May 24, 2009

Texture on Photographs

My favorite scrapbooking designer is Summer Driggs of Summertime Designs. She does such amazing work! Back in March she offered a tutorial on how to add texture on photographs. The trouble was that she did it using Photoshop while I only have Photoshop Elements. Therefore, I decided, once I figured out how to do it, to create a tutorial of the same thing for you specifically for Photoshop Elements.

Before Photo


After Photo

1. Start by opening your photo in Photoshop Elements.

opening window

2. Since I'm following Summer's tutorial, the next step she likes to do is adjust the levels. You can skip steps 2 and 3 if you would like. To do this make sure your picture is highlighted in the layers section to the right. Then click "Enhance" > "Adjust Lighting" > "Levels".

adjust levels

3. Move the tabs around to adjust the levels until you are pleased with your results. In Summer's tutorial she shows you exactly what she does. I will simply describe it. First, move the white tab on the right and move it slightly to the left. Next, move the black tab, on the left, over slightly to the right. Then move the middle gray tab to the left or right as needed. When you are done you can uncheck the "Preview" button to see the before picture to compare the changes.

4. To create a grungy look, you will need to find a texture to use to create an overlay. There are many textures available on the Internet. People also like to photograph textures themselves. For this tutorial I am using a texture that I found at http://www.deviantart.com. It is called "Forgotten Texture" by Firesign24_7 from this link: http://firesign24-7.deviantart.com/art/Forgotten-texture-117652416.

5. You should be viewing your picture on Photoshop Elements at this point. Next open the texture in Photoshop Elements. You need to be able to see both your picture and your texture at the same time. So if they are not both visible, click on the "Restore Down" in the upper-righthand corner of the viewing box, which is located to the left of the "X", it will have two small squares---one on top of the other. For the next step you need to click on the "Move Tool" on the top left of the toolbar.

open texture

6. Next you want to drag the texture onto the picture. Now that you are viewing both the texture and the picture AND have selected the "Move Tool", it is real simple to move the texture onto the picture. Just grab the texture and drag it over onto the picture. In the texture window (in my example it is on the right), click the "X" in the upper right corner of the viewing window to close the texture window. You will no longer need it.

drag texture onto pictures

7. Once you do this, you will just be viewing the picture window, which has both your picture and texture on it. In the layers panel you will see that the texture layer is above the picture layer.

drag texture onto pictures

8. Next you want to make sure that the entire texture is covering the picture. Since both of these are photographs, my texture fit perfectly over the picture. To adjust your texture, make sure that the texture layer is selected by choosing it in the layers panel. Then using the bounding boxes at the sides and corners of the texture adjust the texture so that it is the same size as the picture. After making the adjustments, you will need to select the green check mark or hit the enter key to affirm your changes. Now the texture is covering the whole background.

9. Now make sure the texture layer is selected by looking in the layer panel, and clicking on it if it is not selected. Then click the drop down blending mode, by clicking on the selection area that says "Normal" below the Layer Panel heading.

select the texture layer

10. From the list that appears, choose "Overlay". You can also play around with the other options in this group and see what effects they create. You can select: "Soft Light," "Hard Light," "Vivid Light," "Linear Light," "Pin Light," or "Hard Mix."

Select Overlay

11. You are almost finished.

Overlay

12. Next we will remove the texture from the bodies of the people, which gives a cleaner fresher look. I only remove the texture from the people that the picture focuses on, not those in the background. Here is a close up. It helps to zoom in to make sure you are careful and stay along the edges.

Closeup

13. The erasing takes place on the texture layer, revealing the picture beneath. Make sure that you have the texture layer selected in the layer panel. To erase, select the "Eraser Tool". You can adjust which brush is selected (choose a round one, for example), and the size of the brush at the top of the viewing window. A smaller size helps around details (here I am using size 23).

Eraser Tool

14. Tada! You are finished. Note: Summer uses the burn tool at the end of her tutorial, which you can do in Photoshop Elements. However, I did not use it because the texture I used created a similar effect on the edges of my picture that I was happy with.

Eraser Tool


Monday, May 11, 2009

Brushes in Photoshop Elements

As I have looked around at various blogs and digi-scrapping websites I have noticed that a lot of people's favorite device is "brushes" for altering their photographs, making pretty papers, and neat looking embellishments. And I have been asking myself, "what the heck are brushes?" for weeks now. I have read various people's descriptions of what brushes are and it has still been slow to sink in exactly what they are talking about, although along the way I have at least figured out how to find them in Photoshop Elements.

Well another problem I have run into is that I have Photoshop Elements, not Photoshop, and there are not many tutorials for Photoshop Elements. So I have not been sure when reading directions on brushes if they actually apply to Photoshop Elements or not. So, I have finally found a tutorial which actually explains what brushes ARE and not just how to use them and is specific to Photoshop Elements.

If you are wondering what brushes are too then you need to read this tutorial from ScrapGirls.com: http://www.scrapgirls.com/how_to_use_brushes_in_Photoshop_Elements_PSE.htm